Pages

Thursday, February 21

31 Days of Scripture Art Journaling:: Day 16: How to USe and Create a Masks with Mixed Media Collage

Day 16: Using and Creating Masks


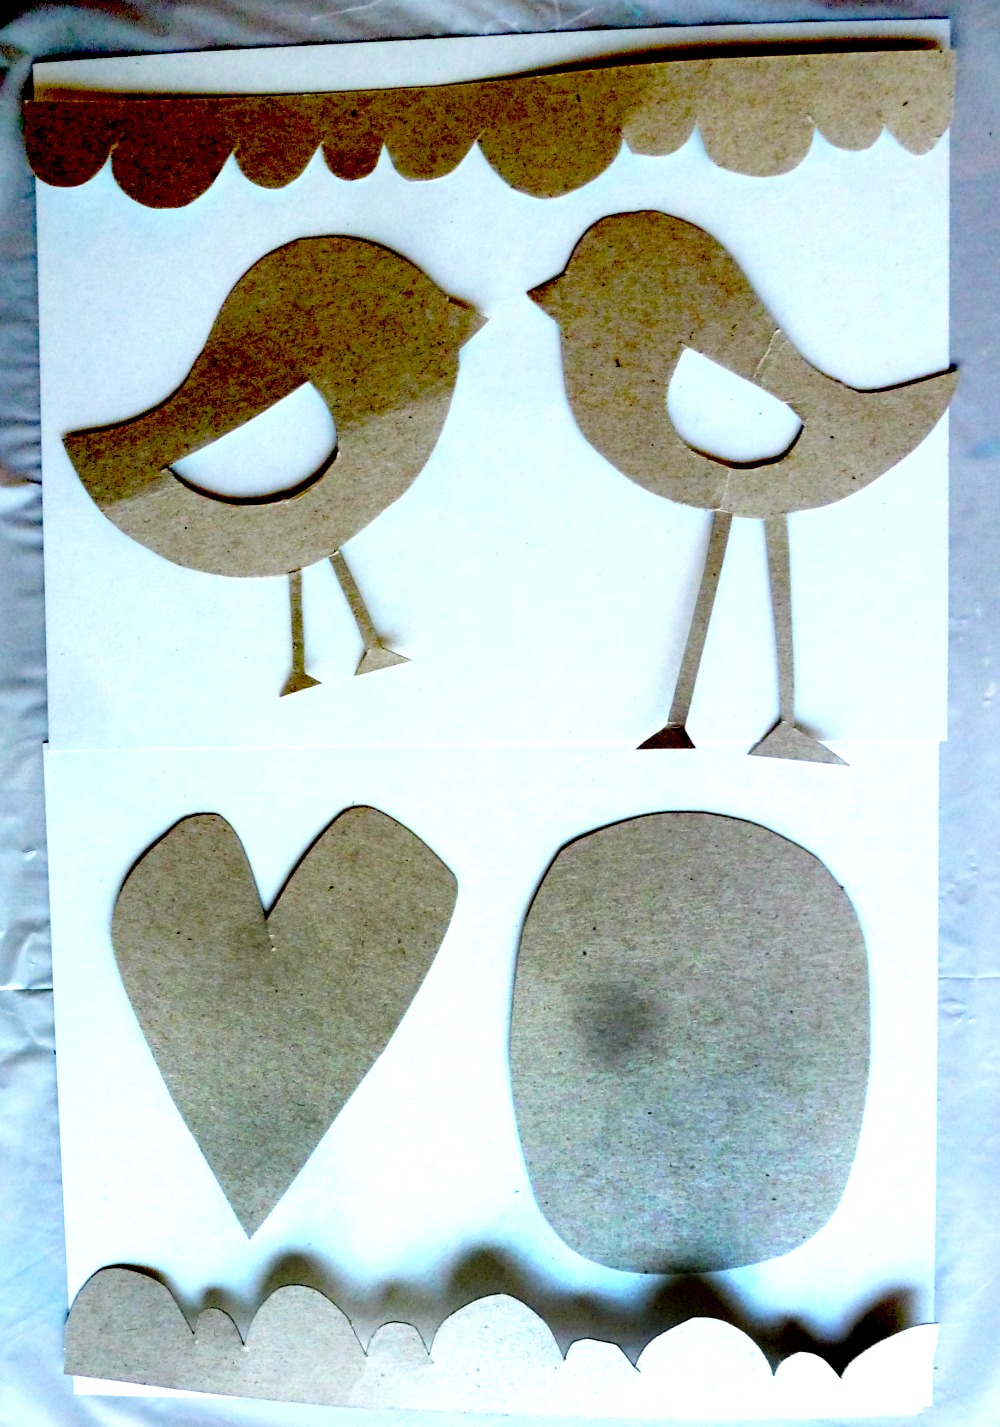
A mask is the cut out part of the stencil.
They are much easier to cut out than stencils.
Just like stencils, there are a million ways to use them.
You can buy them, make them, or use found objects.


This one is from a huge pack I picked up on sale at the craft store:


Materials: 

thin cardboard or cardstock

scissors

a Sharpie

(that's it!)


***A note on materials:***
I'm all about using what you have.
You can use a transparency, or a thin piece of cardboard.
Cereal & food boxes work great for this.
I cut them up and use them for everything.

1. First, draw your shape.


2. Then, cut it out.


That's it!


Here are lots and lots of ways to use them in your journal.

 1. I prepped my journal page with gesso & paint,
applied with a paper towel.
(technique from Day 9.)


2. I added paper (map pieces) with gel medium.


3. I added more paper.


4. I painted some big masks.


5. And a smaller one.

6. And some birds

7. And then some more paint.


 8. And added more details with paint.


9. And text with permanent marker.


Photobucket

Monday, February 18

Hello Grace

Deep thoughts...

shameless
without shame

guilt is feeling bad about something you've done
shame is feeling bad about who you are
(my summary)

wow. 
that really made sense to me.
along with shame comes a lot of unnamed fears.
and it paralyzes me.

and the truth of the whole situation is that Jesus 
has come to set me free from all of that.

shame. fear. pride.
all mixed together.

I can't live this abundant life that God wants for me
I can't have Christ living in me, the hope of glory
and also live in shame and fear.
I have to choose fear or choose courage.
Choose to live in the shadows or choose to shine.
without apology

Jesus offers me life,
but I can't step into it if I'm wading in raw sewage.
I still have to choose to step out of the cess pool of shame and self
and into His grace. His light. His truth.

******************************************

What we're saying hello to this week:

grace


New scripture art!
I'm so excited to finish this series & show you.


Hours and hours and hours of scooter riding.
He is so proud of himself.


My new favorite drink:
sparkling water with lime


Scooter/dance party in the garage with daddy's DJ lights


Lots of mess making on the kitchen table for me = art


Chuck E. Cheese on a rainy day.


My always-favorite go-to dinner
with brown rice, red pepper, and chicken.


Jack is taking his little brother for a ride in the jeep.


More art making.
He has to be in the middle of it all.
"I need paint, momma!"


So true.


Cookie eating.
Definitely his momma's boy.


Our new favorite family movie.


If you're a big nerd like me & love documentaries,
netflix streaming will be your best friend.

Martin Luther
amazing.


Bonhoeffer
wow.


William Wilberforce


Happy


Happy Monday, friends.


Photobucket

Thursday, February 14

31 Days of Scripture Art Journaling::Day 15: How to Make Your Own Stencils

Day 15: How to Make Your Own Stencils


I hope you've had a chance to experiment with stencils. 
The possibilities are endless.
It is super easy to create your own stencils.
***Caution: This can be highly addictive.***


All you need is:

cardstock, a tranparency, or a thin piece of cardboard
&
scissors 

That's it!

1. Just draw your design on your surface.
(I bought a box of transparencies from Target.)


2. Cut out your design.
I started with an exacto knife, but it was way harder to cut than I expected, so I found that scissors were easier. Although scissors won't work for very detailed designs, they worked well for this.


3. Stencil away.


First I stenciled in white:

Then I stenciled in green:


Here's how I created my whole page.

1. I prepped my journal page with gesso  and some red paint,
(the technique explained on Day 9.)


2. Then I tore, cut, & glued paper with gel medium.


 3. And I added another layer paper.


4. And a layer of acrylic paint.


5. And I'm ready to use my newly cut stencils.


First a layer of white:


Then a layer of green.


6. Then a layer of paint.


7. And some stamps


And done!


Photobucket